A beautiful, green lawn doesn’t have to take years to achieve. With the right sod installation techniques, you can transform your yard in as little as 30 days. Whether you're tired of patchy grass or starting from scratch, this guide will show you how to get that thick, lush lawn you’ve always wanted.
Why Choose Sod Instead of Seeding?
Sod offers instant results. Instead of waiting months for grass seed to fill in, sod gives you a fully grown lawn from day one. It also prevents soil erosion and reduces weeds, making it an excellent choice for homeowners who want quick, professional-looking results.
When to Install Sod
The best time to install sod in Texas is during spring or early fall. These seasons provide optimal temperatures and moisture levels, allowing the roots to establish quickly.
Avoid laying sod during the hottest part of summer, as it can dry out and struggle to take root.
Step-by-Step Sod Installation Process
1. Prepare the Soil
Start by removing existing grass, weeds, and debris. Use a rototiller to loosen the soil and create a smooth surface. Adding compost or topsoil improves nutrient content and drainage.
2. Grade the Area
Make sure your yard is graded so water drains away from your home. This prevents pooling and promotes even growth.
3. Level and Firm the Soil
Use a rake to level the soil, then lightly water it and pack it down with a roller. This creates a stable base for your sod.
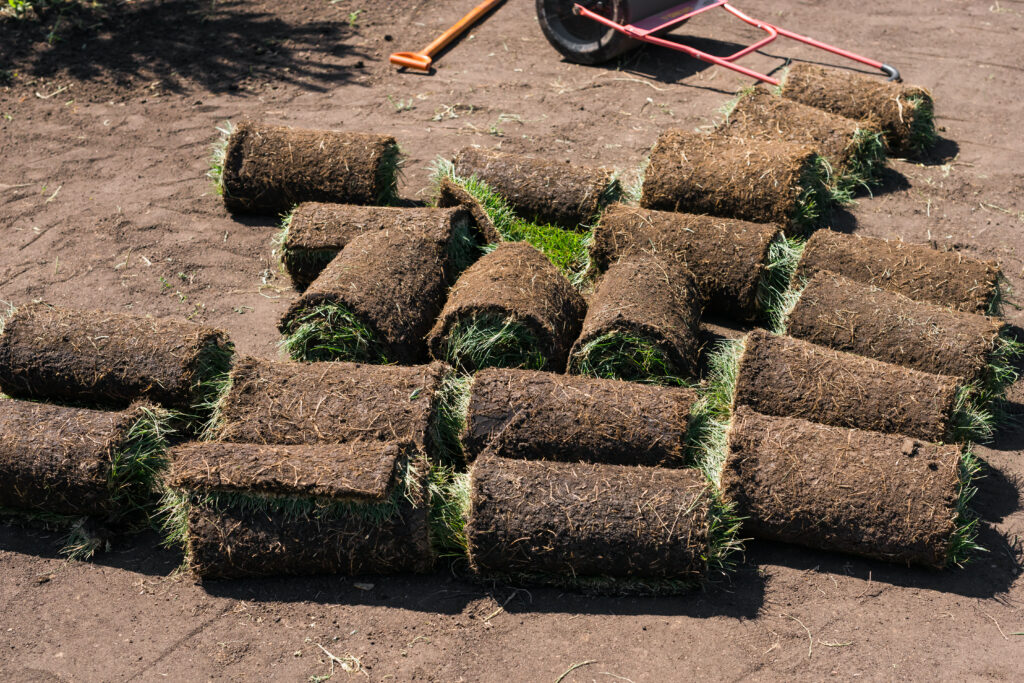
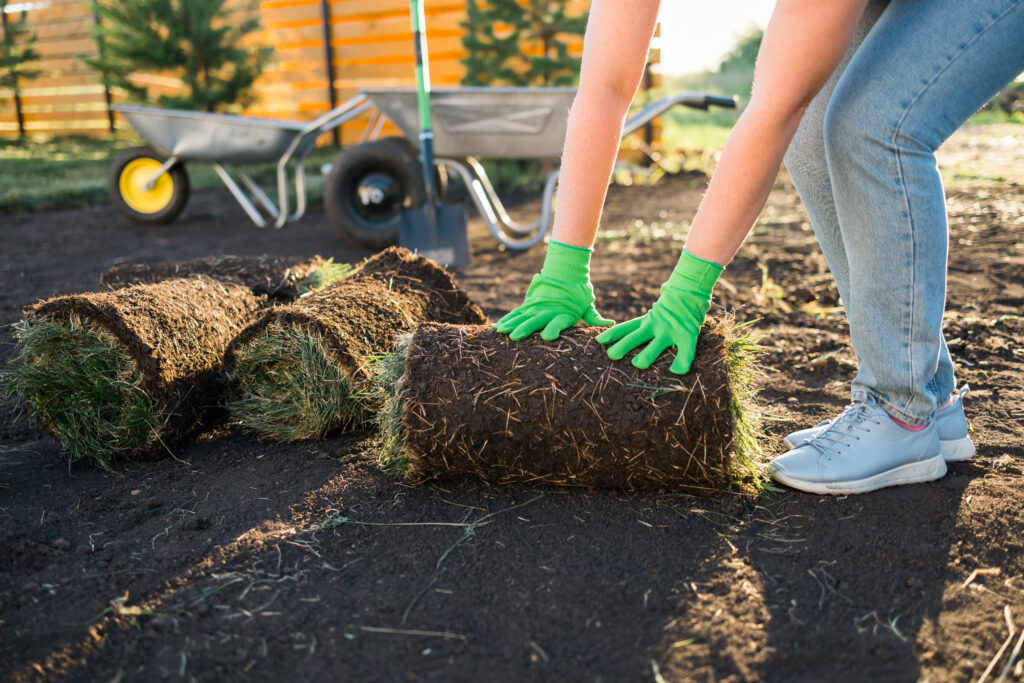
4. Lay the Sod
Begin laying sod along a straight edge, such as a driveway or sidewalk. Stagger the seams like bricks to avoid creating visible lines.
5. Press the Seams
Gently press the seams together to avoid gaps. This helps the sod knit together faster and prevents weeds from taking root.
6. Water Immediately
A properly functioning sprinkler system is essential for a successful sod installation. As soon as the sod is in place, give it a thorough soaking. Continue watering daily for the first two weeks, then gradually reduce to a regular schedule.
How to Care for New Sod
Watering Schedule
- Week 1–2: Water daily, soaking the sod 1 to 1.5 inches deep.
- Week 3–4: Water every other day.
- Week 5 and beyond: Water 1–2 times per week, depending on rainfall and temperatures.
Mowing
Wait until the grass reaches about 3 inches tall before mowing. Never cut more than one-third of the grass height in a single mowing session.
Fertilizing
Apply a balanced fertilizer after the sod has been established for at least four weeks. This encourages deep roots and a healthy lawn.
Common Mistakes to Avoid
- Skipping Soil Prep: Poor soil leads to poor root growth. Always prepare the soil properly.
- Underwatering: New sod needs consistent moisture to establish roots.
- Overwatering: Too much water can drown the roots and invite disease and mold.
- Ignoring Seams: Unpressed seams can dry out and fail to knit together.
When to Call a Professional
While some homeowners tackle sod installation themselves, hiring a professional ensures the job is done right the first time. At Mean Green Lawn & Landscape, we handle every step; from soil prep to watering schedule, so you can enjoy a beautiful, green lawn without the guesswork.
Final Thoughts
Installing sod is one of the fastest ways to get a lush, green lawn. By following these steps and avoiding common mistakes, you can enjoy a thick, healthy yard in just 30 days.
Ready to transform your landscape? Contact Mean Green Lawn & Landscape today for a free sod installation estimate and let’s get started on the yard of your dreams.