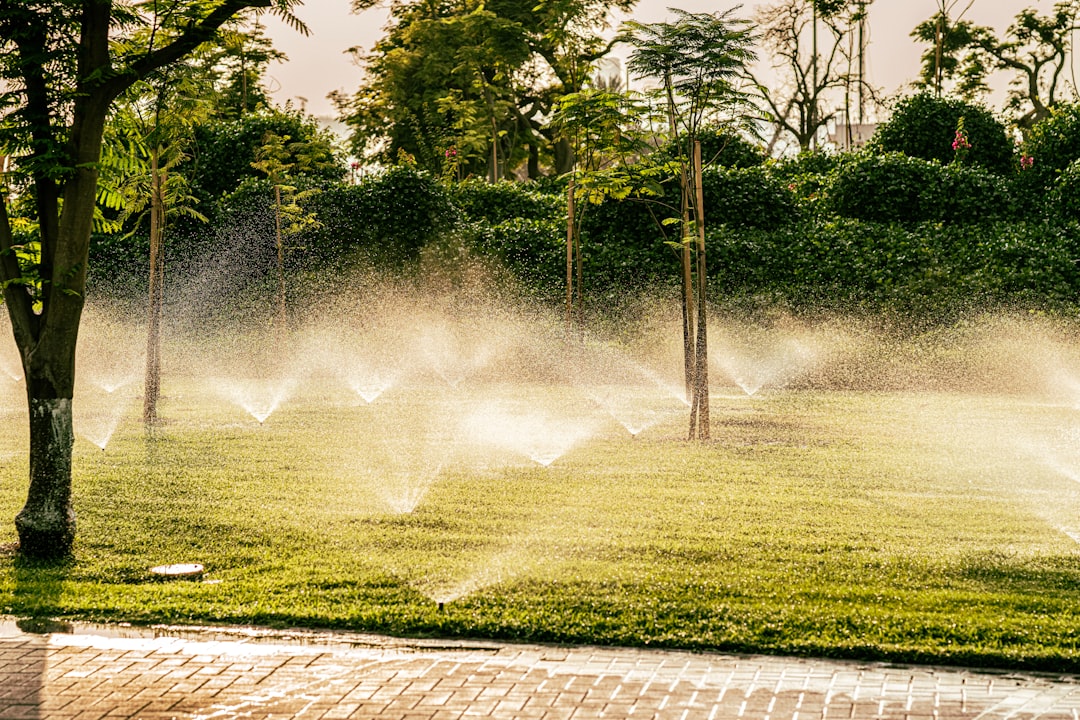
A lush, green lawn is the pride of any homeowner, but when a sprinkler head breaks, it can turn your perfectly manicured garden into a swampy mess. Knowing how to handle sprinkler repair not only saves you money but also keeps your lawn care routine running smoothly. In this guide, we'll walk you through the steps to fix a broken sprinkler head, ensuring your yard remains the envy of the neighborhood. Whether you're a seasoned gardener or new to lawn care, this easy-to-follow guide will empower you to tackle the issue with confidence. And remember, if you need a hand or expert advice, don't hesitate to contact us for help!
Preparing for Sprinkler Repair

Before you start fixing your broken sprinkler head, it's important to gather the right tools and take proper safety precautions. This preparation will make the repair process smoother and safer.
Gather Necessary Tools
To fix a broken sprinkler head, you'll need a few essential tools. Having these on hand will save you time and frustration during the repair process.
First, gather a shovel or trowel for digging around the sprinkler head. You'll also need an adjustable wrench to remove the old head and install the new one.
Don't forget to have a replacement sprinkler head that matches your system, typically costing between $5 and $20 depending on the brand and features. It's a good idea to bring the old head with you when purchasing a replacement to ensure compatibility.
Lastly, keep some plumber's tape nearby. This will help create a watertight seal when installing the new sprinkler head.
Safety Precautions
Safety should always be your top priority when working on your sprinkler system. Taking the right precautions can prevent accidents and ensure a successful repair.
Before you begin, turn off the water valve to your sprinkler zone. This will prevent any unexpected water flow while you're working.
Wear protective gloves to shield your hands from sharp edges or debris. Safety glasses are also recommended to protect your eyes from dirt and water spray.
Be mindful of underground utilities. If you need to dig deeper than a few inches, consider calling your local utility company to mark any buried lines.
Step-by-Step Repair Process

Now that you're prepared, let's walk through the process of repairing your sprinkler head. We'll cover how to identify the problem, remove the old head, and install a new one.
Identifying the Problem
Before you start the repair, it's crucial to pinpoint the exact issue with your sprinkler head. This will help you determine if a repair or replacement is necessary.
Common problems include clogged nozzles, stuck valves, or physical damage to the sprinkler head. Observe your sprinkler system in action to spot irregularities like uneven water distribution or leaks.
If you notice water pooling around the sprinkler head or reduced water pressure, it's likely time for a replacement. For a visual guide on identifying sprinkler issues, check out this helpful video.
Sometimes, the problem might be more complex than a single faulty head. If you're unsure, consider consulting a professional for a thorough assessment.
Removing the Broken Sprinkler Head
Once you've identified the problem, the next step is to remove the broken sprinkler head. This process requires care to avoid damaging the underground pipes.
Start by digging around the sprinkler head, creating a small hole about 6 to 8 inches in diameter. Be gentle to avoid hitting the supply pipe or any electrical lines.
Grasp the sprinkler head firmly and unscrew it from the riser. If it's stuck, use your adjustable wrench, being careful not to apply too much force.
After removing the head, inspect the riser and surrounding area for any additional damage or debris that might affect the new installation.
Installing the New Sprinkler Head
With the old head removed, you're ready to install the new one. This process is essentially the reverse of removal, but with a few important considerations.
Clean the riser threads and apply plumber's tape for a secure, watertight seal.
Screw the new sprinkler head onto the riser by hand, don't overtighten.
Adjust the spray pattern and distance according to your lawn's needs.
Before fully burying the new head, turn on the water valve to test for leaks and proper function. Make any necessary adjustments, then carefully fill in the hole around the sprinkler head. Pack it firmly so the sprinkler sits level with the ground surface.
For more detailed instructions on replacing a sprinkler head, visit Rain Bird's helpful guide.
Maintain and Care for Your Lawn

Regular maintenance of your sprinkler system is key to keeping your lawn healthy and beautiful. Let's look at some tips for ongoing care and when it's best to call in the professionals.
Regular Inspection Tips
Routine checks of your sprinkler system can prevent small issues from becoming big problems. These inspections help maintain your lawn's health and save water.
Make it a habit to visually inspect your sprinklers monthly during the watering season. Look for signs of damage, uneven spray patterns, or areas of your lawn that seem under-watered.
Run your system through a test cycle periodically. This allows you to observe each sprinkler head in action and spot any irregularities in water flow or coverage.
Don't forget to check for leaks around valves and connections. Wet spots in your lawn when the system isn't running can indicate underground leaks that need attention.
When to Seek Professional Help
While many sprinkler repairs can be DIY projects, some situations call for expert assistance. Knowing when to call a professional can save you time and prevent costly mistakes.
If you're dealing with electrical issues in your sprinkler system, it's best to contact a professional. This includes problems with timers, valves, or wiring.
Complex issues like pipe breaks or system-wide pressure problems are also best left to the experts. These often require specialized tools and knowledge to diagnose and fix correctly.
Consider professional help if you're unsure about any aspect of the repair process. It's better to invest in expert service than risk damaging your sprinkler system or lawn.
Remember, regular professional maintenance can extend the life of your sprinkler system and keep your lawn looking its best year-round.


